
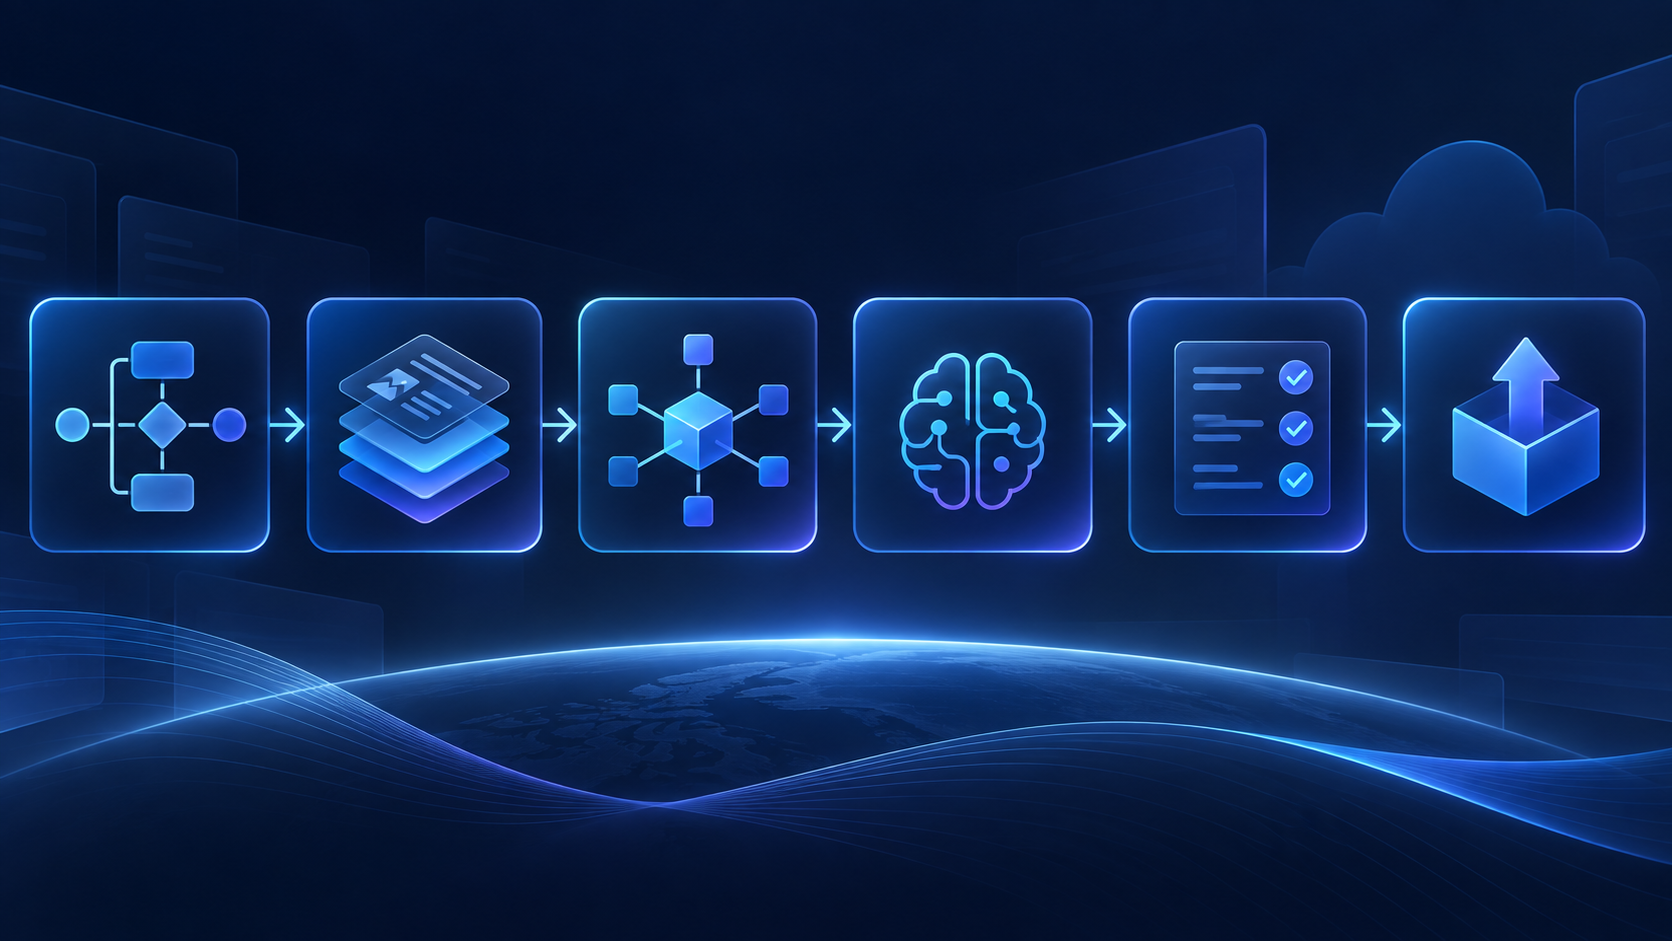
Follow 6 essential AI feature development steps for B2B SaaS, from workflow selection and integration to evaluation, controlled release and ownership. This guide explains the decisions, implementation boundaries and review points that matter inside an established product.
Table of Contents
AI feature development: a practical overview
AI Feature Development: From Workflow to Production in 6 Steps is a practical question for established B2B SaaS teams that already have customers, workflows, APIs, data and permission rules. The useful answer is not a list of model capabilities. It is a way to improve a real product task while keeping the surrounding software understandable, secure and supportable. This guide focuses on the decisions a product and engineering team can make before the feature reaches customers.
Why a six-step process helps
AI feature work becomes difficult when discovery, architecture, integration and model tuning all happen at once. A simple sequence keeps decisions visible. The six steps are workflow, boundaries, vertical slice, evaluation, hardening and release. Teams can loop between steps, but skipping one creates hidden risk. The reason is straightforward: the decision has to make sense inside the normal product workflow, not only in a demo. The team should be able to explain who benefits, what changes for that user and which existing product boundary remains in control.
The process assumes the SaaS product already has identity, APIs and operating standards. The objective is one real product capability, not a separate AI demo. Inside an existing SaaS product, this affects the API boundary, test cases, support path and what the user sees when something goes wrong. Making that choice explicit early reduces rework and gives product and engineering a shared standard for the first release. The sequence gives product and engineering a shared definition of progress. A useful test is to ask the behavior can be reproduced with representative product data and a real permission context.
Step 1: choose one workflow
The first step is selecting a user job that is repeated, understandable and valuable enough to improve. Describe the current process in plain language. Identify the manual effort, delay or decision friction. That sounds simple, but the decision has to make sense inside the normal product workflow, not only in a demo.
Define the outcome the user should achieve faster or more reliably. Avoid combining unrelated workflows in the first release. For teams with real customers and production data, this affects the API boundary, test cases, support path and what the user sees when something goes wrong. “Prepare a renewal brief” is a better starting point than “build an account-management copilot.” Before moving on, check whether the behavior can be reproduced with representative product data and a real permission context.
Step 2: define context, data and permission boundaries
Once the workflow is clear, decide exactly what information the feature may use and what it must never expose. List authoritative product sources and optional supporting documents. Carry verified user and tenant identity into the AI service. The important point is that the decision has to make sense inside the normal product workflow, not only in a demo.
Define negative boundaries such as prohibited data or actions. Map how deletion and permission changes affect indexed or derived data. For a mature SaaS product, this affects the API boundary, test cases, support path and what the user sees when something goes wrong. A document index still needs the same tenant and role boundaries as the source system. A simple way to check this is to ask the behavior can be reproduced with representative product data and a real permission context.
Step 3: build a vertical slice through the real product
A vertical slice proves the end-to-end path using real product boundaries, even if the feature supports only a small subset of future cases. Use the intended backend service and real authentication path. Connect representative product data rather than pasted demo text. This matters because the decision has to make sense inside the normal product workflow, not only in a demo.
Place the output in the real user interface. Keep provider details behind a small adapter. In an established product, this affects the API boundary, test cases, support path and what the user sees when something goes wrong. This step quickly reveals missing APIs, slow queries or permissions that exist only in the front end. The practical check is the behavior can be reproduced with representative product data and a real permission context.
Step 4: build evaluation alongside the feature
Evaluation should develop with the feature, not appear at the end as a QA task. Create normal, difficult and high-consequence cases. Define the dimensions that matter, such as factual accuracy or correct tool choice.
Keep deterministic permission tests separate from model quality. Track user behavior separately from model scores. A feature can score well technically and still fail if users rewrite every result.
Step 5: harden the production path
Production hardening is the work that makes the feature dependable when the happy path breaks. Define timeouts, retries and fallbacks. Validate tool inputs and keep credentials server-side.
Add cost, latency and error monitoring. Test missing data, provider outages and malformed inputs deliberately. The normal product workflow should remain available when the AI path fails where practical. Before moving on, check whether the behavior can be reproduced with representative product data and a real permission context.
Step 6: release gradually and assign ownership
A limited release produces real evidence while keeping rollback easy. Start with internal users, design partners or a small cohort. Review technical failures and workflow behavior together.
Add real failures to the evaluation set. Name an owner for quality, provider changes, cost and incidents after launch. Without a clear owner, the feature becomes difficult to change safely six months later.
How the six steps fit a real SaaS workflow
A supplier-review feature is a useful example because it combines documents, policy and human review. The workflow is extracting answers and preparing a review summary. The product supplies permissions, supplier records and policy context.
The interface shows sources and asks the reviewer to confirm exceptions. Nothing changes supplier status automatically in the first release. This is enough to measure review time, correction rate and false flags before adding deeper automation.
Where teams usually lose time
Most delays come from unclear scope or late discovery of product boundaries. Starting integration before the workflow is defined creates rework. Waiting until the end to build evaluation turns review into opinion.
Creating a separate permission system for AI creates unnecessary security work. Copying too much data into a new store creates freshness and deletion problems. A few hours spent mapping the real product path can save weeks of cleanup.
Keep documentation small and useful
The team needs enough documentation to operate the feature, not a large transformation pack. Maintain a workflow map and architecture sketch. Keep the evaluation set versioned.
Record model, prompt and retrieval decisions likely to change. Document known limits and release controls. A new engineer should be able to understand the feature path without reading a long chat history or project deck.
Use a practical cadence
The process can move quickly when product decisions and access are available. Week one can settle workflow, data, architecture and initial evaluation. The next period builds the vertical slice and broadens case coverage.
Hardening follows when the core behavior is useful. A controlled release supplies the next round of evidence. The milestone that matters is a real user completing the selected workflow safely in the product.
Know when not to proceed
A build/no-build decision is a valid outcome when the workflow or data cannot support the required quality. Narrow the job when requirements remain vague. Change the interaction when available data cannot support automation.
Reduce consequence by keeping a human review step. Stop early if the feature does not create enough user value. Avoid turning sunk prototype effort into a reason to ship a weak product feature.
AI feature development: frequently asked questions
Can the six steps overlap?
Yes. Teams often refine scope and evaluation while building the vertical slice. The point is to avoid skipping the decisions.
When should users enter the process?
Before implementation for workflow validation and again in a controlled release when the feature is safe enough to observe.
What if evaluation is poor?
Narrow the scope, improve context or retrieval, change the interaction or stop the feature before it becomes a customer problem.
AI feature development: final takeaway
AI Feature Development: From Workflow to Production in 6 Steps becomes much easier to plan when the team keeps one real user workflow at the centre of the design. Use the existing product boundaries, make quality measurable and keep the first release narrow enough to understand end to end. That is a more dependable route to production than adding a broad assistant and hoping customers discover the value on their own.
Machine Minds works with established B2B SaaS teams on this kind of bounded AI feature development: shaping the workflow, integrating with real product context, building evaluation and taking the capability through a controlled release. The next step should be based on the evidence from that first feature, not on a generic AI roadmap.
AI feature development: further reading and next steps
For a complementary approach to trustworthy AI design, evaluation and ongoing oversight, explore the NIST AI Risk Management Framework. Apply those principles alongside your product’s existing authorization, testing and release controls.
Explore Machine Minds AI Product Engineering and the AI Feature Sprint, or discuss your product workflow with the team.
When planning AI feature development, keep the scope tied to one measurable customer task. Review AI feature development with engineering and support before expanding the release.
